Showing posts with label costumes. Show all posts

"Absence, Hear Thou My Protestation"


Well, this one has been a long time coming. I think I started this in late August, put it away for a while, and picked it up again just recently. I had already finished the bulk of the work, I just hadn't found the time between other projects and school/work to do all the remaining detail work. Claire's riding jacket in Outlander has always been one of my favourite costume pieces of the series. Caitriona Balfe looks stunning in everything, but she's particularly radiant when wrapped up in luxurious white furs and what I'm guessing is a brown tweed fabric.

I had very limited fabric for this project. The brown tweed was $20 per metre from a small fabric store in Oakleigh, so I only bought two. And the fur was hideously expensive - even when on sale at Lincraft - so I only bought one metre of that. It meant my sleeves came up a bit short, the hood isn't nearly as roomy as I would have liked, and the fur isn't as luxurious and overpowering as it was in the series. But I don't mind. Making costumes on a budget is so much more challenging and means I don't want to claw my eyes out every time I look at my bank balance.

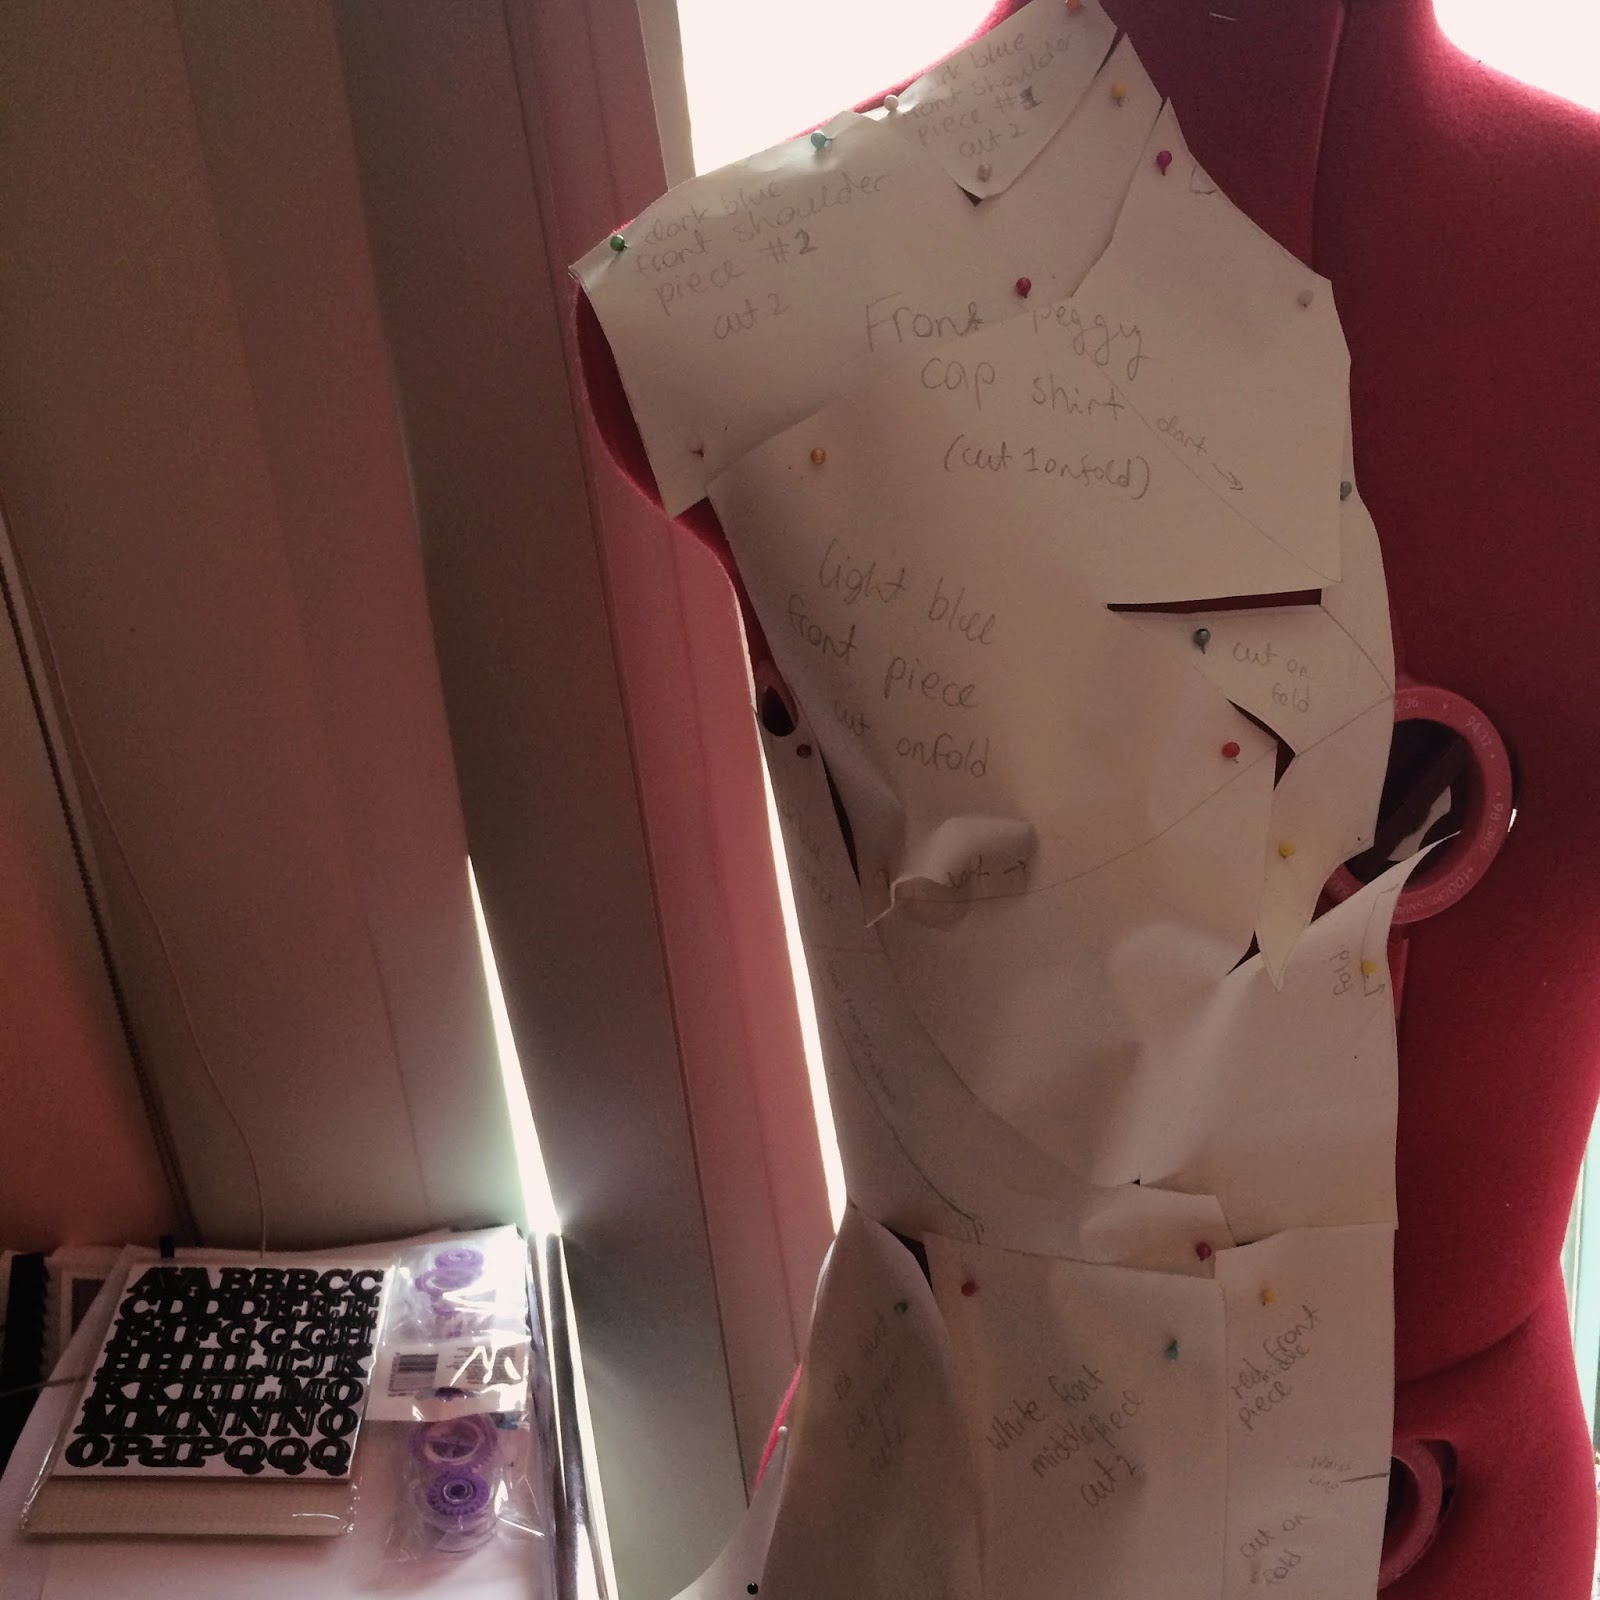
I always knew that I wasn't going to find a pattern for this costume, but I was lucky enough to find one on eBay that was similar enough to work as my base pattern. It was Sew & Sew B5446. It doesn't have a hood, the sleeves are bell sleeves, and the collar is just extremely unhelpful. All I took from the pattern was the bodice - and even that still required customization. The best way to do this is to just copy the pattern onto some fabric and then make all of your adjustments on a dress form. The sleeves and hood were taken from two other patterns and the peplum was made like a circle skirt.

Putting the pieces together from there was all very straightforward. I put some box pleats into the back and sides of the peplum before attaching it to the bodice. I don't think there's any pleats in the top of the actual costume, but I put some in the bodice of mine anyway. The hood presented a bit of a problem. I didn't have enough fabric to make it one piece, so I cut two. But then it wasn't big enough, so I used what little fabric I had left to make another piece for the underside of the hood. It looks a lot better with the fur attached, although I'd still love to go back and remake the hood later so that it has a more natural shape.

The lining was where I hit a roadblock. I would like to say that I was too busy with my new job and other projects, but mostly I just lost interest. The lining pieces were cut from a plain brown cotton when I started the project and needed to be hand stitched to the bodice, sleeves, and peplum. The difference it made to the peplum is miraculous. It used to be so limp when put on over a bum roll and petticoat, but now it flares out! Just the way I wanted.

After the lining, all that was left were the buttons and fur. And let me tell you something about fur. It sheds. It sheds everywhere. No matter what you do, no matter how you cut it - it sheds. I knew it was going to be an issue when I purchased the fur back in Sydney, so I decided to line it as well with a white cotton before hand sewing it to the hood and sleeves. It was still messy to cut and sew, but at least it won't shed every time I put the jacket on.

And that's it! All done! I can't wait to share my next Outlander costume with you all - hopefully next time it won't take as long.

"What's your name, darling?" "Captain."


I would apologize for not posting anything in such a long time, but then I would probably have to do that every time I post something. Life is just too busy! Usually when I complete a project - it's under extreme pressure and in only three or four days. I was hand sewing my Starfleet uniform hours before I had to board my flight to Sydney for Oz Comic Con. I just never have the time until the week before a costume needs to be finished - when I'm forced to neglect my obligations and put all of my energy into that costume.


My Captain Peggy Carter costume is no exception. I think I made the pattern in a couple of hours and then worked on the costume non-stop the week after that. It wasn't stressful, though, which is a rareity. I learnt a lot while making this costume and it is the last one I made before finally picking up my overlocker. This costume just felt like a huge stepping stone in my journey to becoming a better seamstress, so I wanted to document it here.

I knew going into this that I wanted the costume to be more inspired by Steve Rogers' Captain America than the Captain Carter we see in Marvel's Puzzle Quest. Although the latter has a lovely and unique design, I wanted to go with the more easily recognizable costume - especially as I'd be premiering the finished product at Melbourne's biggest convention of the year.


The final design is mostly inspired by Steve's outfit when he rescues Bucky and his regiment in The First Avenger. This was half because I liked the grittiness and reality of it and half because I didn't actually have enough time to make a matching pair of blue trousers.


I copied a long sleeve shirt pattern onto some drafting paper and then added in all the patches and designs and bits and bobs. In the end, there was a ridiculous amount of pieces in the top half of the shirt. It wasn't necessary - I could have just made them patches and sewn them onto one single main piece. But it's a bit late for that now, innit? Anyway, the pieces that are sewn into the sleeves and bodice, rather than attached as patches, have a raised look that gives the illusion that I am actually muscular. And I wouldn't be Captain America without those.


There was so much customizing of this piece. I wanted it to be as fitted as possible, but it always somehow ended up loose in some places. It's my own fault, really. My first few projects when I originally discovered sewing ended up too tight to wear, so now I overcompensate my seam allowances in the hopes that I won't make the same mistakes again.


I got the length of the zip wrong and had to run out to Lincraft and buy one that I could sew into place at uni. It still wasn't the right length and falls short at the neckline, but - as usual - I didn't have time to make adjustments so that it would be the right length. It was actually my first time using an open end zip which is now a very close contender for the title of My Favourite Zip Ever. I'll definitely use it again on one of my next costumes.

Photo by Ganjaninja Photography
Of course I'd love to make this costume again, especially now that I have my overlocker. I'd also love to make other versions of Captain America - especially his USO costume from TFA, complete with his original shield. But this one will do very nicely, until then.

Photo by Kitt Photography
You can find more photos of the costume in action on my Facebook page!

Porcelain, to Ivory, to Steel


A year ago this week - I bought my first sewing machine. And a year later, I've just finished a major costume and I'm about to finish a riding jacket inspired by a costume piece in Outlander. I've come so far since my first project on a sewing machine and I'm so glad I stuck with this hobby and got through all the moments where I wanted to give up on it.

I wrote a post a while back about the wolf embroidery on my Sansa gown, but I only just finished working on the rest of it so that I could wear it for the first time at the Bendigo Records, Toys, and Comics Fair. It got a lot of compliments, especially about the embroidery. I'm very proud of the whole costume, in spite of all its minor flaws. Velvet is pure evil, 10/10 would not recommend working with velvet.


The dress was actually the first piece I finished, using Simplicity 9891. I then moved on to the embroidery, which took about a month of work. After that I ordered the fabric for the main piece of the cloak and then set the costume aside while I gave my time to other costumes I'd left in the back burner.

The cloak fabric is also velvet, but it's a two way stretch dance velvet from an Australian store. It's less thick than the dress fabric and flows very nicely when I walk. The fur is faux fur and actually the second piece of faux fur I ordered since the first never actually arrived.

Buying fur fabric is extraordinarily expensive and would have been hard to work with, so in the end I bought a fur bridal wrap. It's whip stitched to the top of the cloak and keeps its shape exceptionally well.


I also added the detail of snowflakes to the cloak. There is a pattern on Sansa's cloak in the show, but it would have been too hard to replicate without spending weeks scouring the Internet for a fabric with the exact pattern. So I decided to emboss my fabric with a stamp and an iron. 

The costume is complete, but I'd still like to add more snowflakes to the cloak and find a way to secure the top of the cloak to the shoulders of the gown. It shifts a lot while I'm wearing it so I think I'll use hooks and eyes or little snaps to keep it in place. It's such a comfortable, warm costume. It's a shame the weather here is starting to heat up again.

 source: Alchemi Glow Photography


I have been very inactive on this blog as of late, and for that I apologize, but I do have a lot more to share with you over the coming weeks. I made a new Star Trek uniform for the 50th anniversary and I've been taking lots of photos of my process while making Claire's riding jacket which I mentioned above. So keep an eye out for those posts and more!

Star Trek Tricorder Bag

Con week is upon us! It's con fortnight for me, actually. I have Oz Comic Con in Melbourne this weekend and Supanova in Sydney next weekend. My first time going interstate for a convention!
This weekend I'll be wearing my updated Rey costume on Saturday and a new Star Trek uniform on Sunday. The latter is kind of a last minute decision, so I'm doing the bulk of my work on it this week. Yay.I've bought my communicator and phaser, I have the supplies for my uniform, I found some gorgeous black boots at an op shop, and last night I finished my tricorder! In the Star Trek universe, a tricorder is a type of scanner. It's usually a medical scanner - used below by my beloved Doctor McCoy.The character I'm going as is Doctor Helen Noel, who would have used a psychological tricorder, but I couldn't find a screen for that so I just used the usual scientific screen. My uniform won't have any pockets for my phone or holsters for my phaser and communicator, so I decided to make the tricorder a bag. You can buy a bag version of the tricorder (I even found one for sale at Minotaur in the city), but they're all around $70 which is far too much considering this is a last minute costume.
I can't wait to wear this costume. Helen, like many women in the original series of Star Trek, was only in one episode - but she left an impression on me. Her wit, compassion, strength of character, and that scene where she basically becomes James Bond and crawls through air ducts to sabotage the bad guy's plans made me fall head over heels in love with her.

Busy, busy, busy!

I had to use my sewing machine last night for the new cuffs on my Veronica Sawyer blazer and as I was setting everything up, I realized it was the first time I'd used my sewing machine in over a week!
I know I haven't been home very often lately, but I had no idea it was affecting my sewing projects this much.

My goal from now on is to set aside at least one day a week for sewing. No ifs, no buts. No cancellations. I'm very behind on everything right now, I have a lot of catching up to do!
I just bought some double knit blue fabric for my Star Trek 50th anniversary uniform, so I'm going to get started on that next week. Expect updates! I hope everyone is having a lovely weekend.

Rey Boots Tutorial

Happy Friday, everyone! I just finished putting together my new Rey boots, so I thought I'd show you how I made them! I spent maybe about $30 tops on these? Not all of us can afford the screen accurate Po-Zu boots and this is a really nice, cheap alternative that you can do with minimal effort and supplies.
To make these boots, you will need:
Boots, two shades of brown material, dark brown shoelaces, a needle, dark brown thread, scissors, pins, a pencil or pen, a tape measure, a ruler, some tin foil, and possibly a seam ripper.
With the boots - try to find some ugg boots that have the same shape as Rey’s boots. If they’re not exactly the same, you can use your seam ripper and scissors to cut that shape out of the top of the boots. It doesn’t matter what colour they are, as we will be covering them completely with material.
As for the material - you’ll need two shades of brown in two different material types. I used some faux leather I had left over from an old project and a big sweater I found online that had the weave I was looking for. When you go shopping for your material, bring a reference picture of the actual boots to help you find the right texture and colour.
They don’t have to be exactly the same colour - just go with whatever suits you. The actual material used for most of the boots was tweed, I believe, but it doesn’t have to be. I’ve heard of other Rey cosplayers using army blankets for their Rey boots. It’s totally up to you what you use, you don’t have to follow this tutorial step by step. It’s just a little guide.
First, you’ll need to make a pattern with the tin foil. Wrap it around the heel of your boot, folding and scrunching the tin foil until you’re satisfied with the shape. Now unfold it and there’s your pattern piece. Use this to cut out two pieces of your lighter brown fabric and pin the pieces to the heels of your boots, and then sew them on.
Do this for the other parts of the boots (using the dark brown fabric), until you have this!
Now you need to make the tab pieces for the sides and back of your boots. Use the tape measure and a reference photo of the boots to decide on the size of your tab pieces.
My side pieces were 2" x 1", my longer back pieces were 6" x 1", and my shorter back pieces were 5" x 1". Make a sketch of your pieces on the boots, if that helps.
Take these measurements and draw your pieces on the light brown fabric, then cut them out. You'll need eight side tabs and two of each of the back pieces.
Pin your pieces to the boots and sew them on the dotted lines. Add the shoelaces and you're done!
And here's a quick video showing you how to thread the shoelaces:

To Boldly Embroider Where No One Has Embroidered Before


I started my Bespin cloak embroidery the other night! What I'm using here is something called a shadow stitch. It's not very even, but I'm still learning. Here's a video tutorial on how to do it. 
I've put the cloak fabric and all my embroidery supplies in a cat tote bag, so I can work on it when I'm out, but I think I'll get most of it done each night while watching Star Trek!
Speaking of Star Trek - the 50th anniversary is coming up later this year! And, although there doesn't seem to be any events happening in Melbourne, I am hoping to make a uniform to celebrate.

I've already started research on the fabric. Apparently it's a cotton velour, which is a velvety kind of fabric. Fingers crossed it's stocked somewhere in Melbourne so I don't have to pay for shipping!
Update: I typed up this post last night and saved it to my drafts to post today, but I just wanted to add this progress photo of the embroidery! Working hard!~


Boots, Rain, Embroidery, and Chitty Chitty Bang Bang

The weather so far this week has been utterly miserable, so I've spent most of it inside. Today it's been raining on and off, so I've been snuggled up in some lazy clothes while working on two of my projects!


I should really be starting on the tunic and the pants for my Leia costume first, but I haven't found the right patterns yet. And, with only about a month left to finish the costume, I decided to start the embroidery on the cloak first so that I can work on it continuously on top of all my other projects.


I'm also trying to get my Rey boots done asap so I can continue working on the other pieces for the costume! I've learnt so much while working on this costume. It looks so deceptively simple, but a lot of work is going into each piece.


I spent most of last of night working on this blog and watching Chitty Chitty Bang Bang videos on Youtube. Now and then a musical grabs my attention and I consume everything I can find of it. Chitty is such an adorable show. I don't follow many like it, it's so refreshingly optimistic.